TLDR
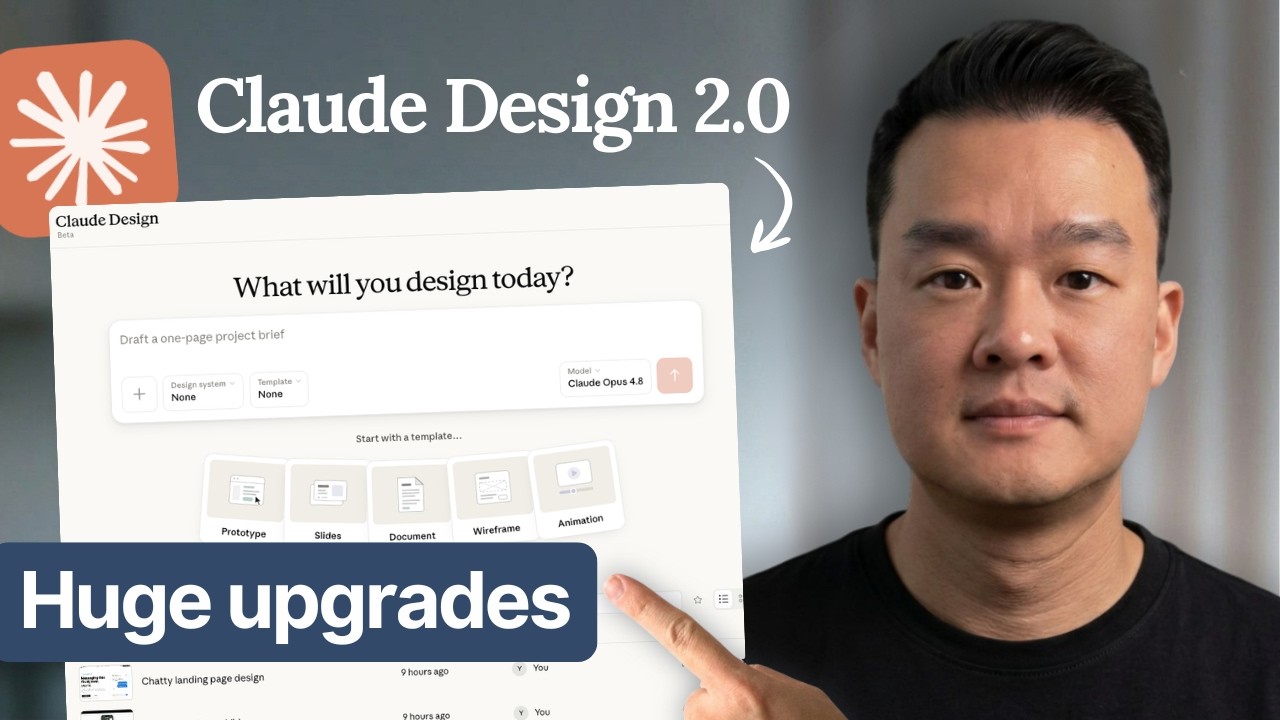
Anthropic's Claude Design 2.0 introduces major upgrades including unified token usage with the Claude subscription, MCP connectors for third-party tools like Hickfield, canvas editing with a Figma-like sidebar, improved design system creation and porting from Claude Code, and the ability to export projects to other platforms. These changes make Claude Design more efficient, flexible, and integrated into the development workflow.
Key points
- Claude Design usage limits are now tied to the monthly Claude subscription, covering Claude Code, Chat, Design, and Co-work, and the system is more efficient, burning fewer tokens.
- MCP connectors allow Claude Design to integrate with third-party tools like Gmail, Hickfield, and Supabase, enabling automatic generation and import of assets such as images and videos.
- Canvas editing now includes a left sidebar with controls similar to Figma, allowing direct manipulation of elements like font size and color without regenerating the entire page.
- Markups feature lets users add multiple edit requests to a queue and send them all at once to Claude, saving tokens.
- Design systems can be created from existing Claude Code projects using the /design sync command, making it easy to port design elements into Claude Design.
- Claude Design supports exporting projects as zip files or sending them directly to tools like Base44, Livable, Replit, and Canva.
- The update enables building not only websites but also slide decks, app demos, and animations using the same design system.
Tools mentioned
- Claude Design
- Hickfield
- Gmail
- Supabase
- Claude Code
- Base44
- Livable
- Replit
- Canva
Techniques
- MCP connectors for third-party integration
- Canvas editing with direct manipulation
- Markups for batch edit requests
- Design system creation and reuse
- Porting design elements from Claude Code
Takeaways
- Claude Design 2.0 removes separate usage limits and improves token efficiency.
- MCP connectors enable seamless integration with external tools for asset generation.
- Canvas editing and markups reduce token consumption by allowing local edits and batch changes.
- Design systems ensure consistent branding across projects and can be imported from Claude Code.
Transcript (captions)
Cloud Design just got a major upgrade. It's got a brand new layout and they actually fixed the biggest issue people are having with it and that is usage limits. And on top of that, they added a few more upgrades that makes the whole thing much better to use. So, if you're building any type of apps, websites or presentations, this update is pretty big. So, in this video, I'm going to walk you through the five biggest changes. And I'm going to start with the first one here, token usage. And this is, I think, one of the biggest problems with cloud design and something that annoys everybody. You don't get a lot of usage out of this. and it has its own separate usage limit from your normal cloud subscription. So if you ran out of usage, you got to wait 1 week for it to reset, right? I mean, it's such a good product, right? But if you're not able to use it, what's the point? But the good news is that they fixed all this and they actually fixed two things here. So first of all, your cloud design usage is now tied to your monthly cloud subscription. So one subscription covers cloud code, chat, cloud design, co-work. So this is a good thing, right? Makes everything simpler. And second of all, they also made changes under the hood. So it's actually more efficient. And as a result, it actually burns more tokens when you're building things, right? So you get more usage and also the machine itself is more efficient and I love that. Now the second feature they added is the ability to connect claw design with third party tools through an MCP. So if you click on the right top corner here, you can see that they added something new called connectors here. So if you click on this, you'll be able to see that you can connect to thirdparty tools like Gmail, Hicksfield, Superbase. And this is actually a big thing. So I'm actually going to give you an example by building a real website so you can see how powerful this MCP connector is. Now, I found this website, nevisgear.com. So, this is a ski apparel website. I'm just going to use it for reference, and we're going to rebuild this whole website with claw designs. Now, this website looks really good with all this animation with this uh video here that's playing in the background. And then, if I scroll down, you'll see that it has some products with real models here, which looks really good. But because Cloud does not have its own image or video generation model, it's not going to be able to create all these images or any of these videos here. But because we have a connector now, we can connect claw design to a thirdparty app like Hickfield here to generate the videos and images. And if you're new to this term MCP, an MCP is just a connector that allows claw design to talk to a third party app like Hickfield here in the background. So you can create images or videos without having us to go to Hicksfield and manually prompting it ourselves. And once the assets are generated, Claude will bring all the images and all the videos back automatically and stitch everything nicely into a website like this. Right. So basically with this MCP connector, Claude is doing all the heavy lifting. So you don't have to manage multiple apps. You don't have to download or upload images or videos manually and that will save you a lot of time. Now just a quick note, MCP connectors are already available in cloud code or co-work. But they just added this feature into cloud design. So let's recreate the website. So I've got the prompt ready here. I want to build an e-commerce website for a ski apparel like nisgeear.com. And I want you to connect to Hicksfield to generate the hero animations and also the product photos with real models. So I want the same video in the hero section. And I also want product photos with real people, right? I also want six different products like jackets, gloves, and come up with their best design for this. So as you can see, the prompt is not very detailed. The only reference I gave it was this website here, nvisgeear.com, and also a connection to Hicksfield to generate the videos and images, right? And I'm going to pick opus 4.8 a to generate the website and just put medium effort here and see what we get. Now, I'm not going to pick any design system here because I already gave it a reference website. So, it's going to follow the theme, the colors from this website and probably give us more options. So, I'm going to hit generate here and it's going to go to work and just in a few minutes I've got this page ready. So, I've got a loading screen here and then there you go. Now, I'm actually going to make this full screen so you can see a lot better. So, I'm going to click present and hit new tab here. All right, loading screen. That looks really cool. So, we've got the videos or a series of videos that was generated on Higsfield and it was able to come up with I think three or four different videos and it stitched them together which looks really cool here. And if I scroll down here, okay, so you got the next section here, cool scrolling animation, another section here, and then we got the products here. And this is really cool because without Hicksfield, we're not going to be able to create any of this product model images, right? especially with the a real person on it. And if I just hover my mouse on the picture, it's actually a video where the model actually rotates. So that's a nice extra touch that I did. And then let's scroll down a bit more. Okay, so total we got six products, which is exactly what I asked for. And actually, if you zoom into the detail here, it actually added my brand, Polar, which is a fictional brand that I just created. And it added the logos by itself without me asking for it, right? So that's pretty cool. So if I click on any of these, let's say I want to click on the product photos. Let's say I want to purchase it. Okay, so we got the product page and let's see what works and what doesn't. You know, to be honest, I think this design looks good already. I don't see any mistakes here and we got the secondary image, third image. Okay, so this is probably the wrong product, but again, I think from just that one paragraph of prompt, what is able to give me is just impressive. So, let me go back to the homepage here and I want to see what else it was able to build for me. So, okay. So, we've got more sections here, more on the product materials, things like this. And we got a footer here which looks really really good, right? And if you just compare it with the original website here, I think it looks pretty similar. It's got the same vibe. What I like is that it didn't actually copy the exact design. I actually picked a different color from the green here. So that is good. But you basically get the same vibe right now. If you guys are curious on what's actually happening in the background, how was it able to generate all these images? If I go to my Hickfield account, I can see that these are the product shots that it was able to generate. And it was able to generate all this without me having to think about what prompt to give to Higfield, right? Cloud design was able to come up with all the prompts and communicate all this in the back end through the connector to Hicksfield. And if I go to videos, this was again the videos that was generated in Hickfield. And once these are generated, it was able to automatically pull all these assets back into claw design and put everything nicely together on a website like this. So I never have to touch Hicksfield. I just have to make sure that I have enough credits and Hicksfield and Claw Design is able to figure out everything out by itself. All right, so the next big feature that they added is canvas editing, which means that you're able to edit the website right on the canvas. So I've got this landing page that I recently built. I can click on edit here and I can just click on whatever that I want to change. So let's say I want to adjust the size of this sentence here. So I can just drag and just resize it to however I want without touching any code. And let's say I want to modify the text as well. Maybe change this word to mine. I can just do that just like that without having to chat with Claude and get it to regenerate the whole website again, which saves you a lot of tokens. Now, you can already do this in the first version of Cloud Design. But what you didn't have on the first version is this left sidebar here where you have a lot more control in what you can edit on this page, right? So, this is like Figma. If you're familiar with Figma, there's a lot of more control to manipulate the design. So, here you can change the font size. Let's make it 80 for example. Or if you want to change the color, uh there's a color picker here. And if you go to the second tab, pro, you can actually see the layers as well. So for changes that I feel I can do myself. So let's say I just want to change this button from black to blue. Previously, I had to chat with Claude and ask it to regenerate this button to blue, which burns tokens, and if I change my mind, I'm going to burn more tokens. But I think with this feature here, I'm able to make small changes that I can do myself. I can test things out, try different colors without involving claude, which I think overall will save you a lot of tokens. Now, there's also another way to make edits, which is markups here. So, if I click on markups, can just click on this element here. Let's say I want to make this um be in an iPhone markup. So, place this image in a real iPhone markup. Now, instead of sending it to Claude, which is going to regenerate the whole website, I can just add comment here and it will add that request to Q. So I can continue to make more edits. So I can keep adding things to the list of things to change. And maybe I want to change the icon here. I can click on this and change icon to something else maybe and then add comment. And it's going to add this to the list. And when I'm ready, I can just check these off like this and then send everything to claude. So this way claude will process every single request in one go. And this way you'll save a lot of tokens as well. Now, Cloud also improved the way that you create a design system. So, if you're curious what a design system actually is, if you go to the homepage here on the second tab down here, you'll see design system. So, I've created this one for myself called notion design system. And if I click on this, this is something that I've already created. So, it is basically a set of colors, the typography, the buttons, the color palette that you want to use. So, every time you want to generate a landing page or website, it will follow and use the same design system. So you don't have to keep giving it preferences or instructions on how the color should look like. So I think if you already have one theme or one style of design, you can use that over and over again by creating a design system like this. Now Cloud just added a new thing here where if you already have a website that you built in Cloud Code, they made it super easy for you to port everything into cloud design. So what you can do is you can click on create design system and you have this new second option here which is create using cloud code. So if you click on this, you can go to cloud code and in your project folder, you can just prompt it /design sync and it will actually capture all your design elements and bring it over and create a design system directly into cloud design and it will appear as one of these systems here. Now when you're ready to use a design system, you want to make sure that it's published here. And to do that, you can just click on it and you want to make sure that this button is checked here. Otherwise, you're not going to be able to use it. So how do you use a design system that you have to create a website? So I can just simply say it like this. I want to build a landing page for this software called Chatty. And basically the app is like a WhatsApp app is an iPhone messaging app. And I want to see two pricing free and pro for 20 bucks. Now before you click go, you want to click on the design system here. And pick the design system that you want. So in this case, I want to do notion design system. And because this is a landing page, I just want this to be a website, right? So I'm going to pick prototype. You don't have to pick this because it already knows that it's a landing page. But these are some of the things that you can actually create if you want to turn this into a slide or a document or an animation. And this is actually the landing page that it was able to generate with that notion style design theme. So it looks exactly like the notion website. And I was able to also make a slide deck with the same design system and it looks like this. So exactly using the same colors, same font and everything just looks consistent. And I was able to also generate an app and demo video with the same design system. So, if I play this here, you can see that it's also using the same exact colors, same typography, and I think the demo looks really good. And I didn't give it too much detail, just that one prompt that I showed you earlier, and it was able to do all this. And obviously, without a design system, you would have to describe all the colors, all the font every single time you generate something. Now once you're happy with the design that you have here and you're ready to build out the back end, maybe you want to connect a database, you want to connect Stripe, want to bring this over to Cloud Code, right? And to do that, you can simply click on share and you can click on send to. And if you were using cloud code to build out the back end, you can click on this one and it will port everything to cloud code. But what I like to do is actually to hit export and export everything in a zip file like this. So I can either use cloud code or codeex or even cursor to build out the website for me. Now I just want to show you one cool trick here. If I click on send to here and add a destination, you can actually connect to more tools. So if you're using a base 44 or livable or replet to to vibe a website or an app, you can connect this to cloud design as well and it will port your project seamlessly into those tools. So I think that's really cool. Or maybe you're not designing a website, but maybe you're just designing a simple banner and you want to bring it over to Canva. You can also do that here by clicking on this button. All right. So now you can design a website or an app with claw design. But how do you actually build out the back end like adding a database, adding Stripe for taking payments, and also deploying the website? So if you want to learn how to do that, I cover all that in this video I made here where I walk you through every single step from building to deploying. So, click here and I'll see you
Jobs for this video
| Stage | Status | Attempts | Last error | Updated |
|---|---|---|---|---|
| summarize | done | 0 | — | 2026-07-01 01:19:32.656636+00:00 |
| summarize | done | 0 | — | 2026-07-01 01:13:59.917633+00:00 |
| summarize | done | 0 | — | 2026-07-01 01:11:57.502847+00:00 |
| summarize | done | 0 | — | 2026-07-01 01:04:20.923081+00:00 |
| summarize | done | 0 | — | 2026-06-30 22:05:37.664519+00:00 |
| transcript | done | 0 | — | 2026-06-30 22:04:46.139744+00:00 |
| metadata | done | 0 | — | 2026-06-30 22:04:21.725329+00:00 |